In some instances, you may be a member of an Office 365 Unified Group for sharing files within a department, project, etc. In some cases, logging into OWA each time you want to access a file to view or edit can be tedious. You can set up the OneDrive local application on your Windows PC to sync the files in the group to your PC so you can access them via file explorer like you access files on your hard drive.
In order to set this up, follow these steps. These instructions are for Windows, but the steps for Mac's are very similar.
1. Login into OWA ( http://connect.rutgers.edu )
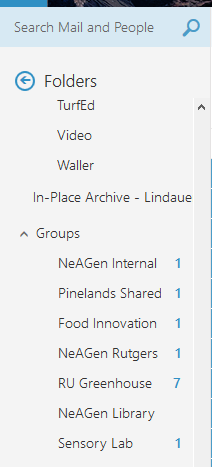
2. On the left hand column, under your folder list, find the GROUPS section and click on the desired Group.
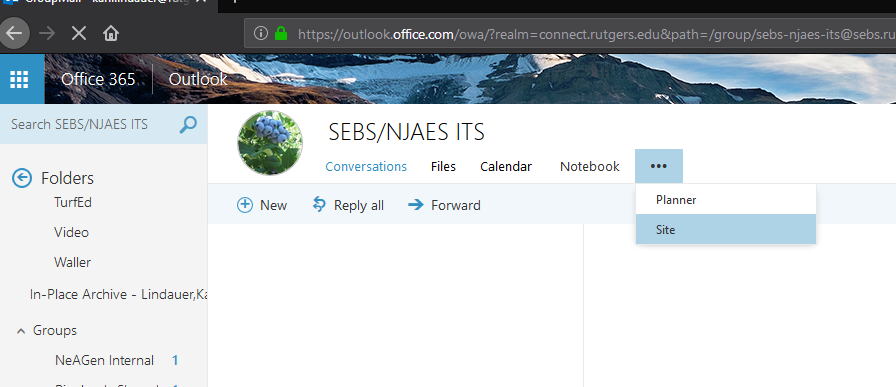
3. Now that you are in the group, on the top bar underneath the name of the group, you’ll see CONVERSATIONS or EMAIL, FILES, CALENDAR, etc. Click the ellipsis (3 dots) and then choose SITE.
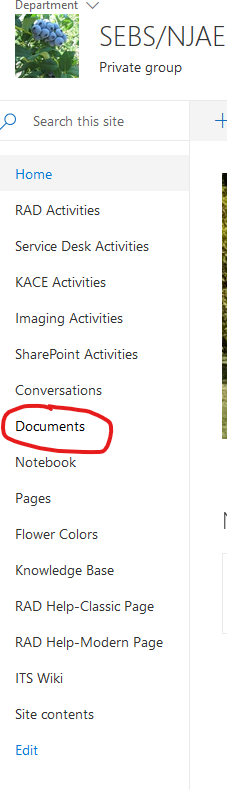
4. Now we are in the official site for the Group; Click on DOCUMENTS on the left hand column.
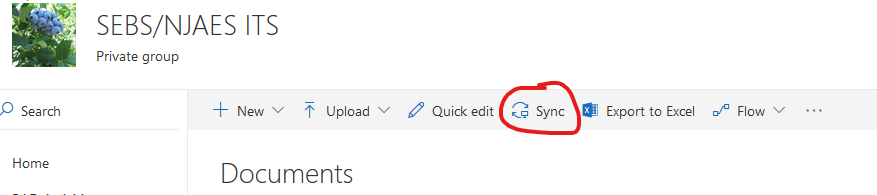
5. You should now have SYNC as one of your choices along the top bar. Click on Sync to setup the Sync to your local machine.
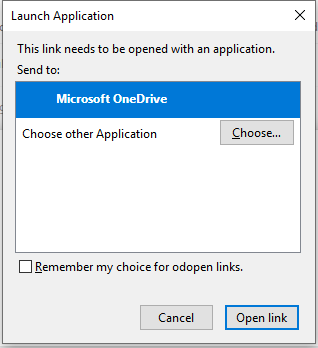
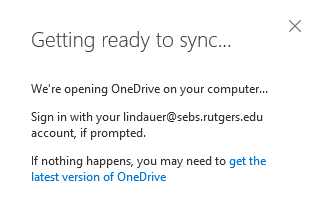
6. A box will pop up saying “Getting ready to sync”. Another popup should appear asking if you want to open in OneDrive, if so, make sure ONEDRIVE is highlighted and click on OPEN LINK. If nothing happens from here on out, click the GET THE LATEST VERSION OF ONEDRIVE link and then try again.
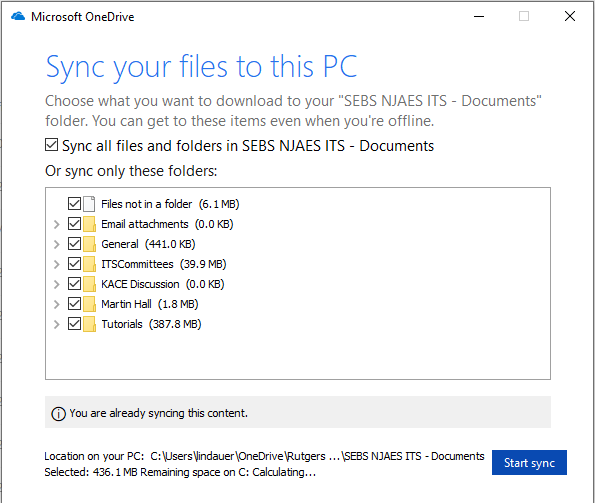
7. Next a popup will appear asking which folders from the Unified Group you want to sync, check all if you want to sync all, or uncheck any that you do not need to access from your local PC. Click START SYNC when ready.
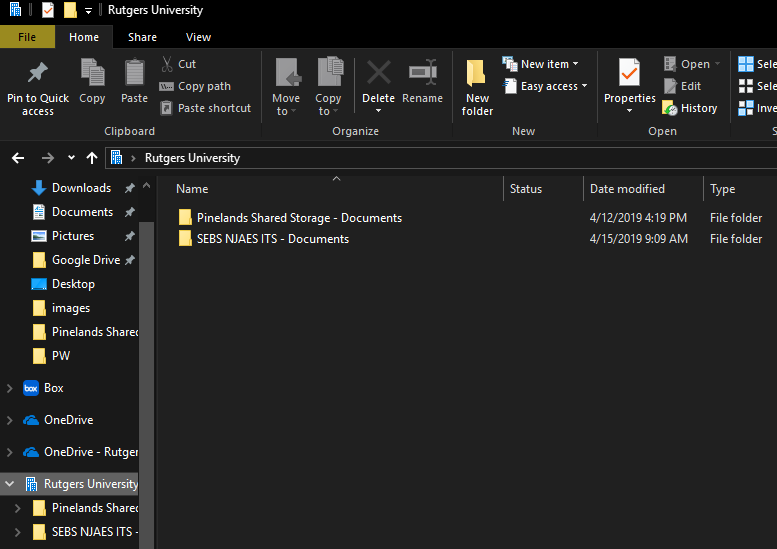
8. When you look in File Explorer, you should now have a Rutgers University folder. Click under that and you will have a folder with the name of your unified group and all the files you selected should now be accessible.
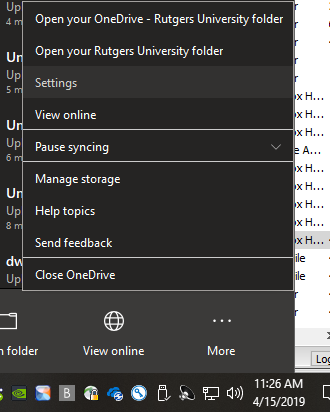
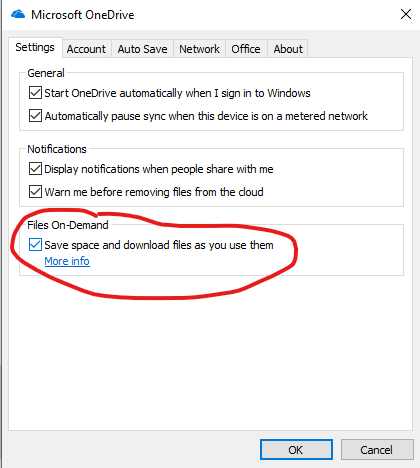
9. Depending on the number of files and size of the files in this unified group, you may want or need to change a setting so as not to fill up your hard drive. By default, a copy of ALL files in the unified group will download to your computer. If the size of the group is bigger than what you have on your hard drive, it will fill the drive. To turn on the FILES-ON-DEMAND feature, which will keep items in the cloud but let you download them on demand to view or make changes (without downloading everything automatically to your hard drive) you need to right click on the OneDrive icon on the bottom right hand side of the screen, then left click on SETTINGS, then click on the SETTINGS tab, and check the box next to SAVE SPACE AND DOWNLOAD FILES AS YOU USE THEM.
10. OPTIONAL: When you are in the Group Site, make sure you are Following the group.

If it shows NOT FOLLOWING, you should click that to change it to FOLLOWING. Any emails sent to the group will now be delivered to your inbox. You also need to be following the group for the Files to show up in your personal OneDrive in OWA.
STOP SYNCING A UNIFIED GROUP
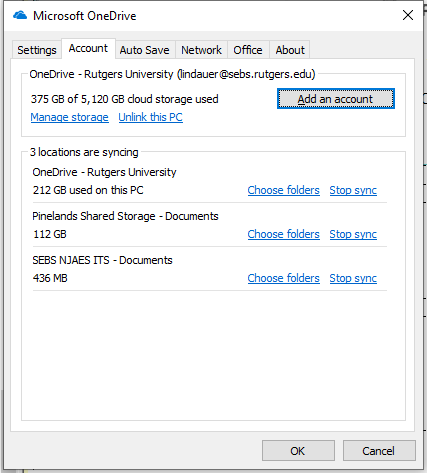
If you ever want to STOP syncing this group with your PC, you can access the settings by right clicking on the OneDrive icon again (see step 9) and under the ACCOUNT tab, click STOP SYNC next to the group you no longer want to sync.
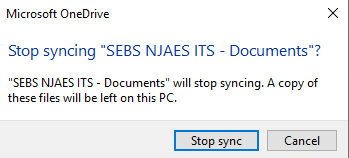
And then click on the STOP SYNC option to stop syncing with this unified group.
If you have any questions or issues, please contact your local IT support, or contact Karl Lindauer.